Overview of the interface
The spreadsheet in DiMaker is used to create files based on a list with various personal data.
The spreadsheet window looks like this:
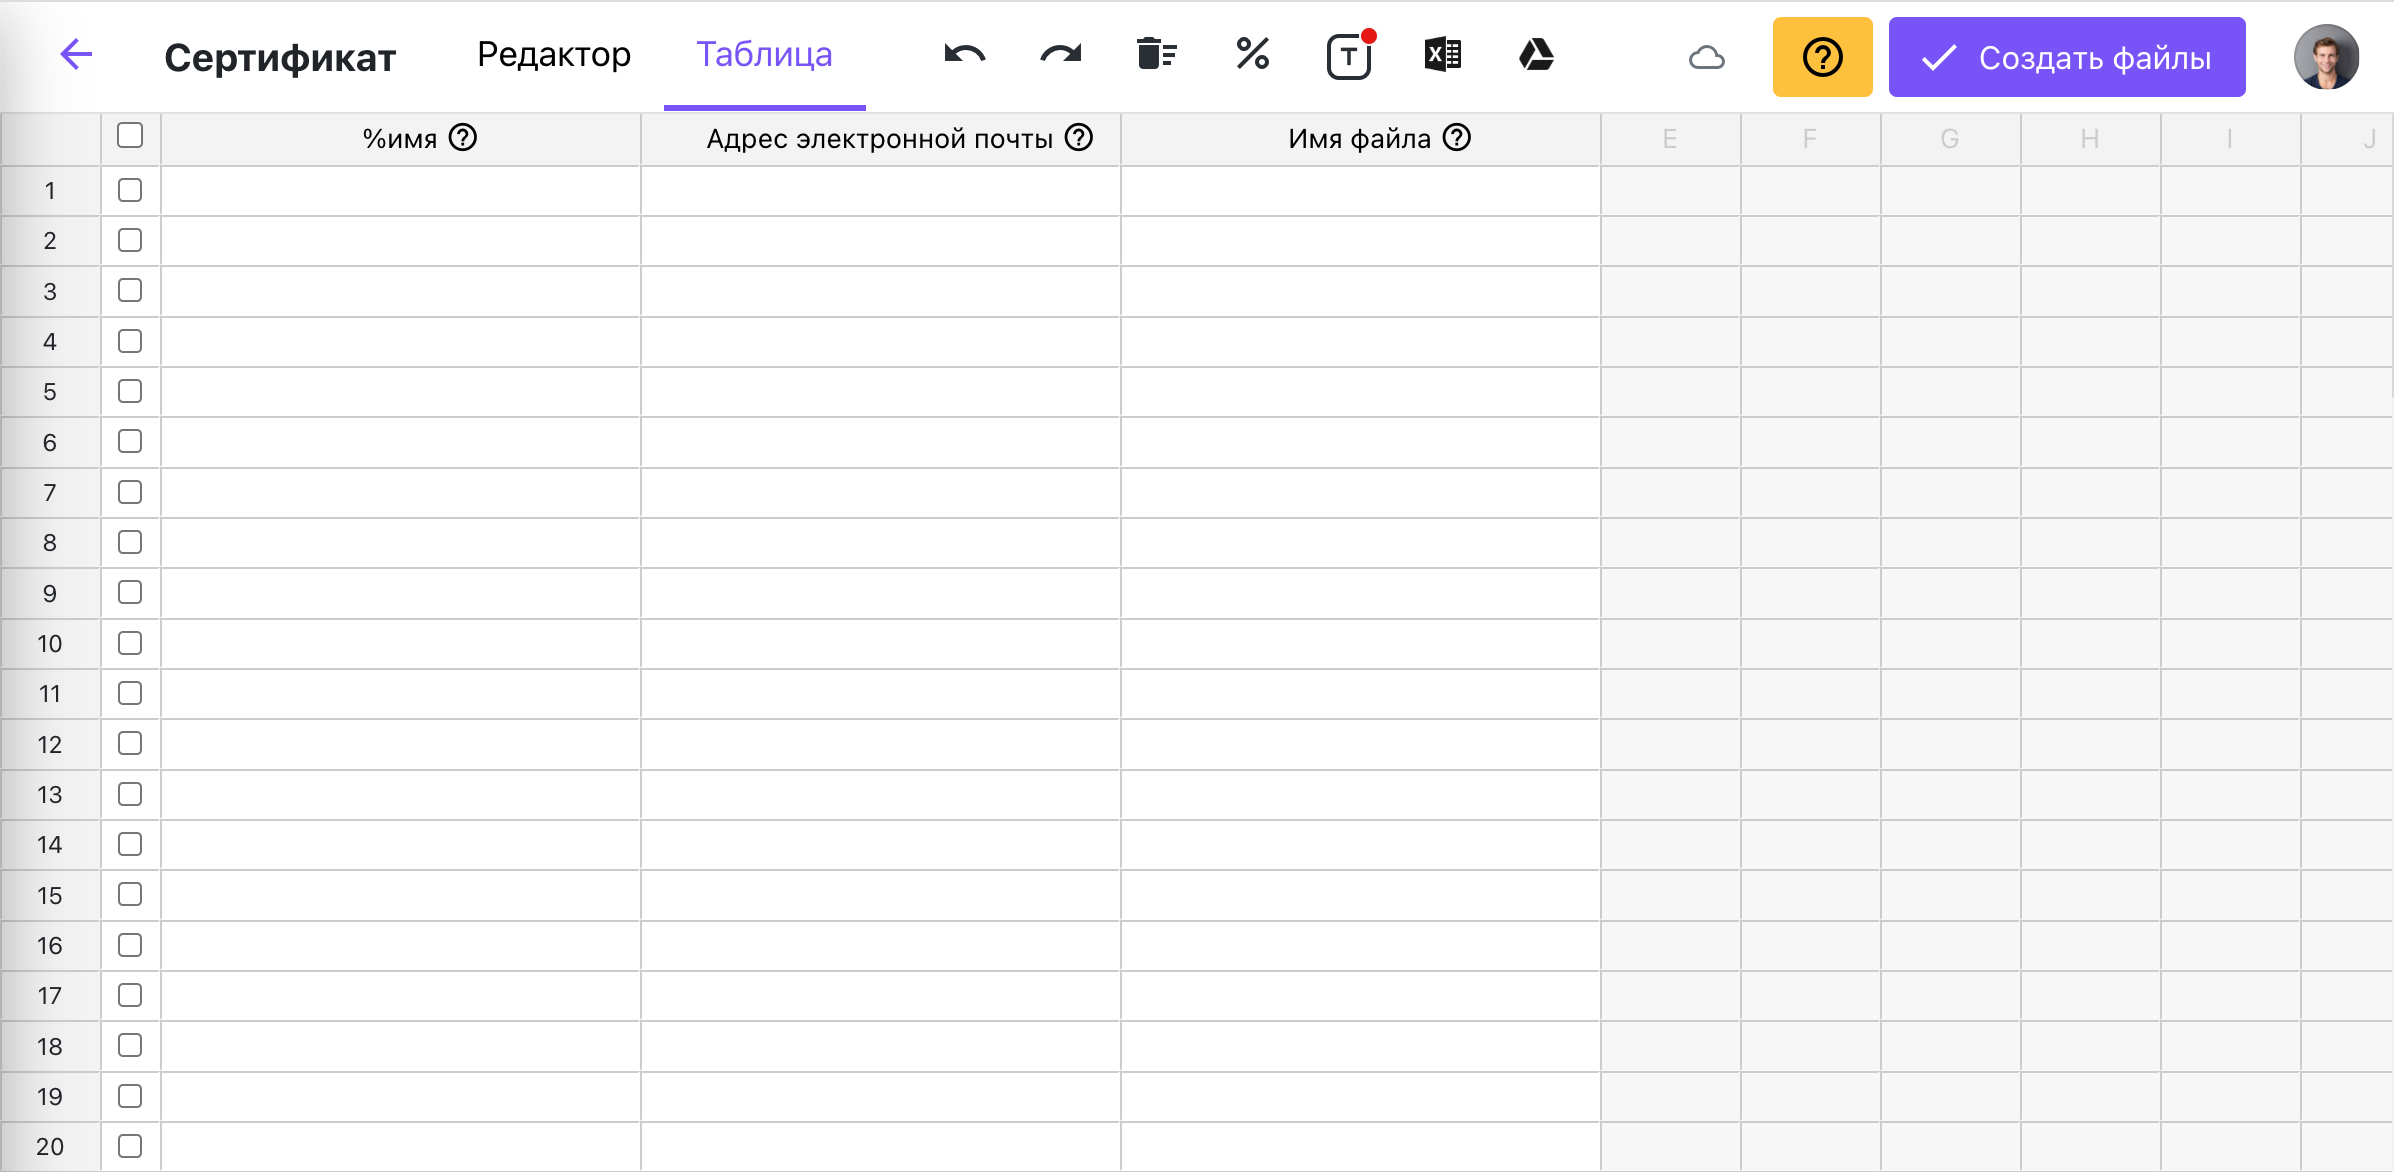 The spreadsheet in DiMaker
At the top is the toolbar:
- Back button - returns to Documents
- Tab switching tabs Tables and Editor allows switching between the editor and the spreadsheet in the same document. If a separate spreadsheet has been created, these tabs are missing.
- Undo and Redo buttons allow undoing and redoing each action. The spreadsheet is saved automatically.
- Clear spreadsheet button completely clears the spreadsheet and recreates all columns.
- Select variable button is used to specify a variable for the selected column.
- Process through Wordform button opens the Wordform window.
- Data upload from Excel and Google Sheets allows you to upload data to the spreadsheet.
- Create files button to call the "Create files" window. Before creating files, you need to select one or more rows, based on which the files will be created, activating the checkbox in the first column of each table. Only checked rows will be used to create files.
In the central part, there is the main table.
There is no limit to the number of rows in the table. Each row of the table is a future separate file. When creating a file, the variables specified in the header will be replaced with the data specified in the cell.
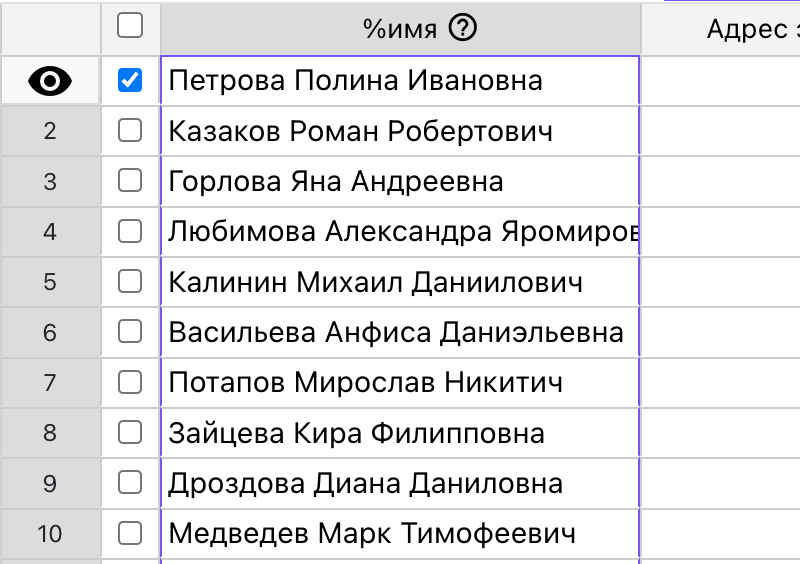
To see how the file will look like, simply select any row and click the "Preview" button in the row header.
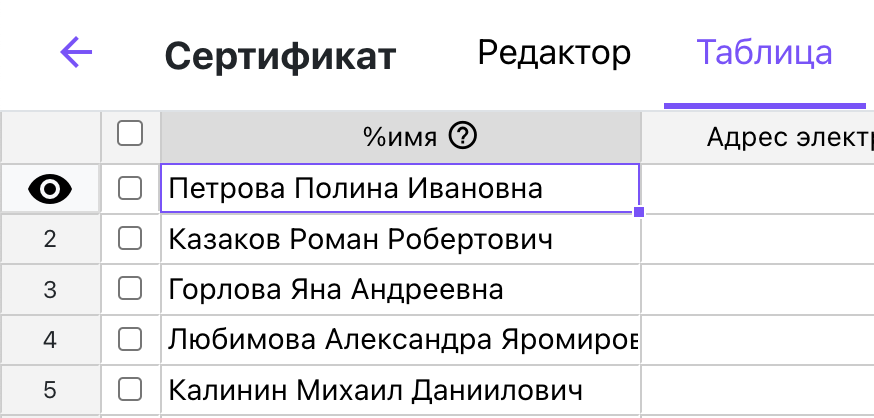 The preview button is located on the left
To create files, activate the checkbox on each row on which you want to create files. If you click on the checkbox in the column header, you can select or deselect all rows. Only rows with data are selected.
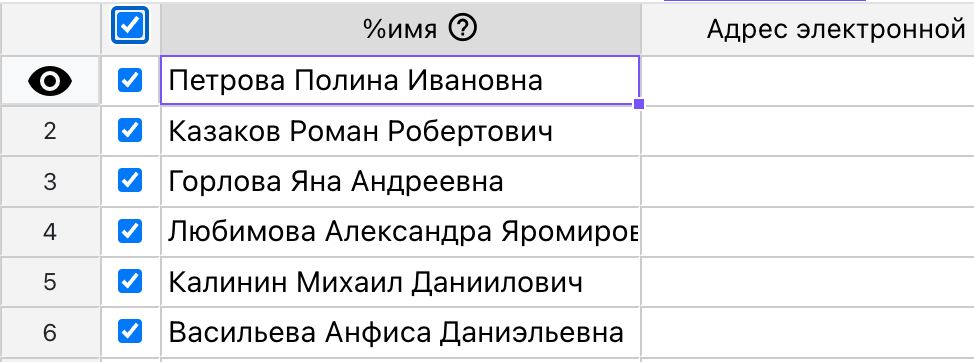 The checkbox in the table header activates or deactivates the checkboxes on all rows
Context menu
Right-clicking on a column allows you to bring up the context menu.
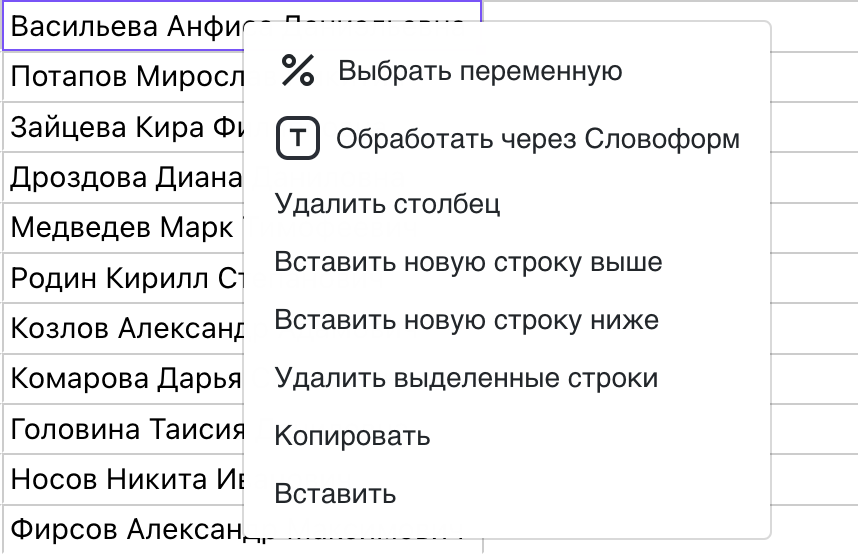 Table context menu
The "Select variable," "Process through Wordform," and "Delete column" options apply to the entire column.
The rest of the options only apply to the selection.
To select the entire column, click on the table header.
 Selecting the entire column
Adding rows
You can add one or more rows using the context menu. If you need to add many rows, scroll to the bottom of the table and hit "Add Rows," indicating the number. DiMaker can handle any number of rows. However, if there are more than 5,000 rows, your browser may hang.