Por onde começar
Este guia passo a passo explicará como criar automaticamente diplomas, certificados ou quaisquer outros arquivos com dados personalizados. Veremos as etapas iniciais para a criação dos arquivos e seu envio por e-mail.
1. Criação do documento
O documento no serviço é a base para a geração automática de arquivos. Você pode carregar um fundo personalizado, adicionar blocos de texto, código QR ou outros elementos de mídia, e, o mais importante, variáveis. Essas variáveis serão posteriormente preenchidas com dados da tabela.
Para criar um documento, vá para a seção "Documentos", clique em "Criar" e escolha "Documento". Na janela de criação, você pode dar um nome ao documento e escolher o formato.
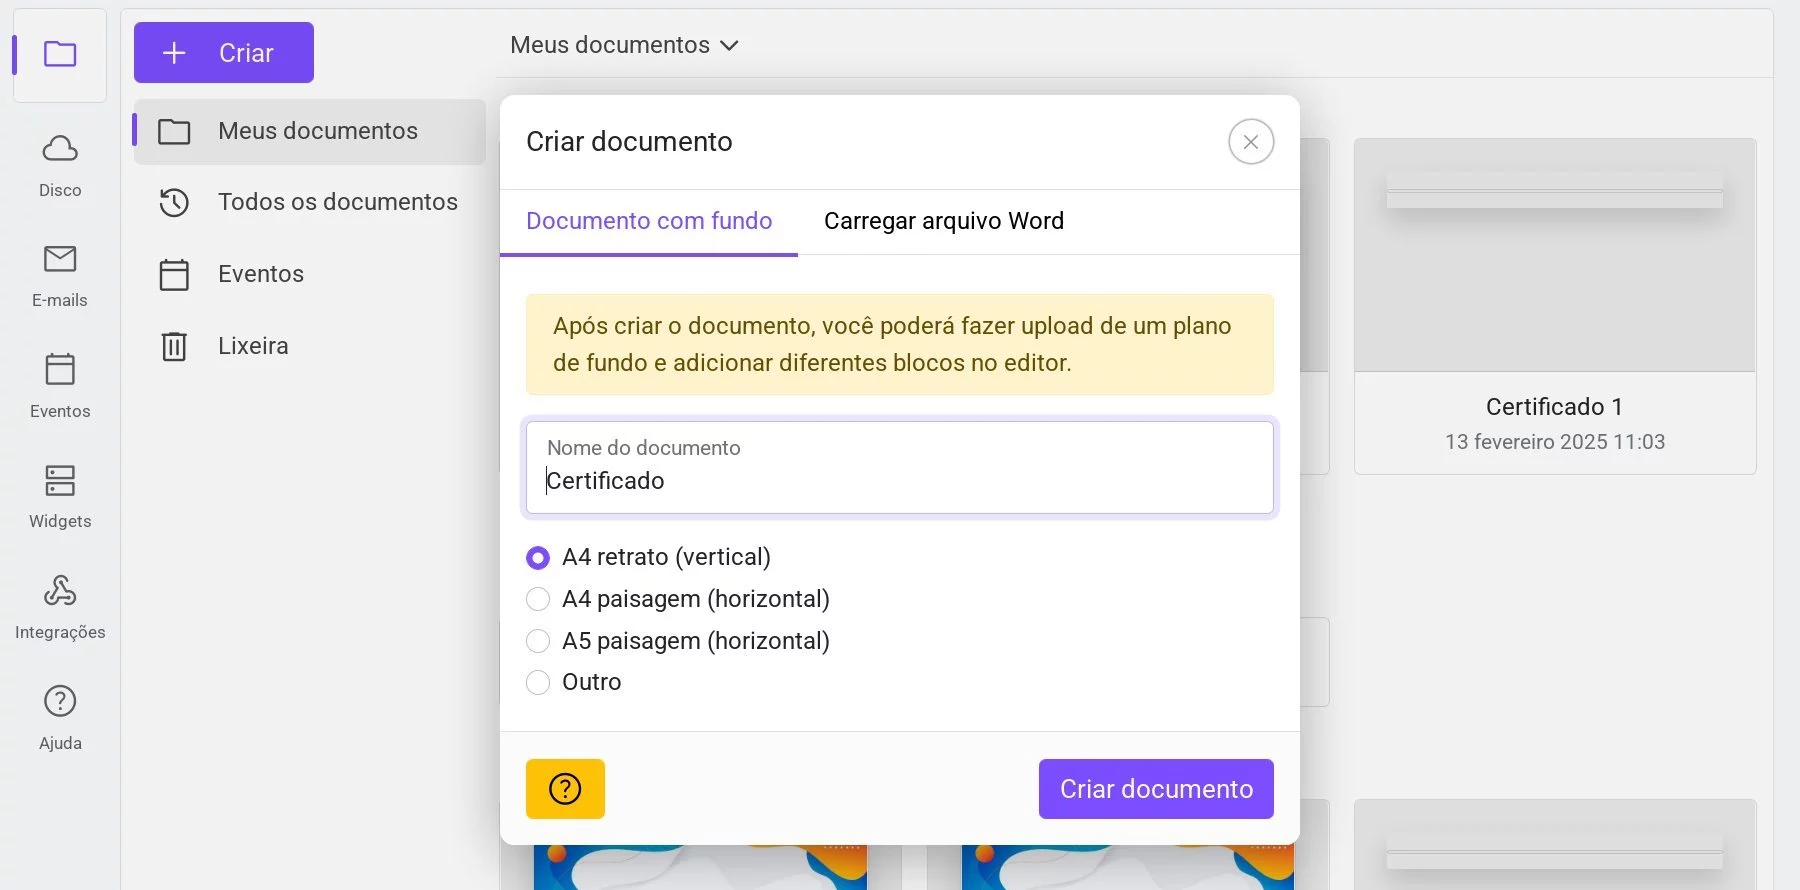 Janela de criação do documento
Os formatos suportados para diplomas e certificados são JPG e PDF. O documento pode conter apenas um fundo ou já incluir texto com espaços vazios para os dados personalizados. Também é possível carregar arquivos do Word (docx), mas, nesse caso, o arquivo deve ser preparado previamente, pois no serviço ele estará disponível apenas para leitura.
2. Carregamento do fundo
O novo documento será aberto imediatamente após a criação. Agora, é necessário carregar um fundo. Os formatos suportados são JPG, PNG e PDF. O serviço trabalha com resolução de impressão de 300 DPI. Para carregar o fundo, clique no botão "Carregar fundo" na barra de ferramentas.
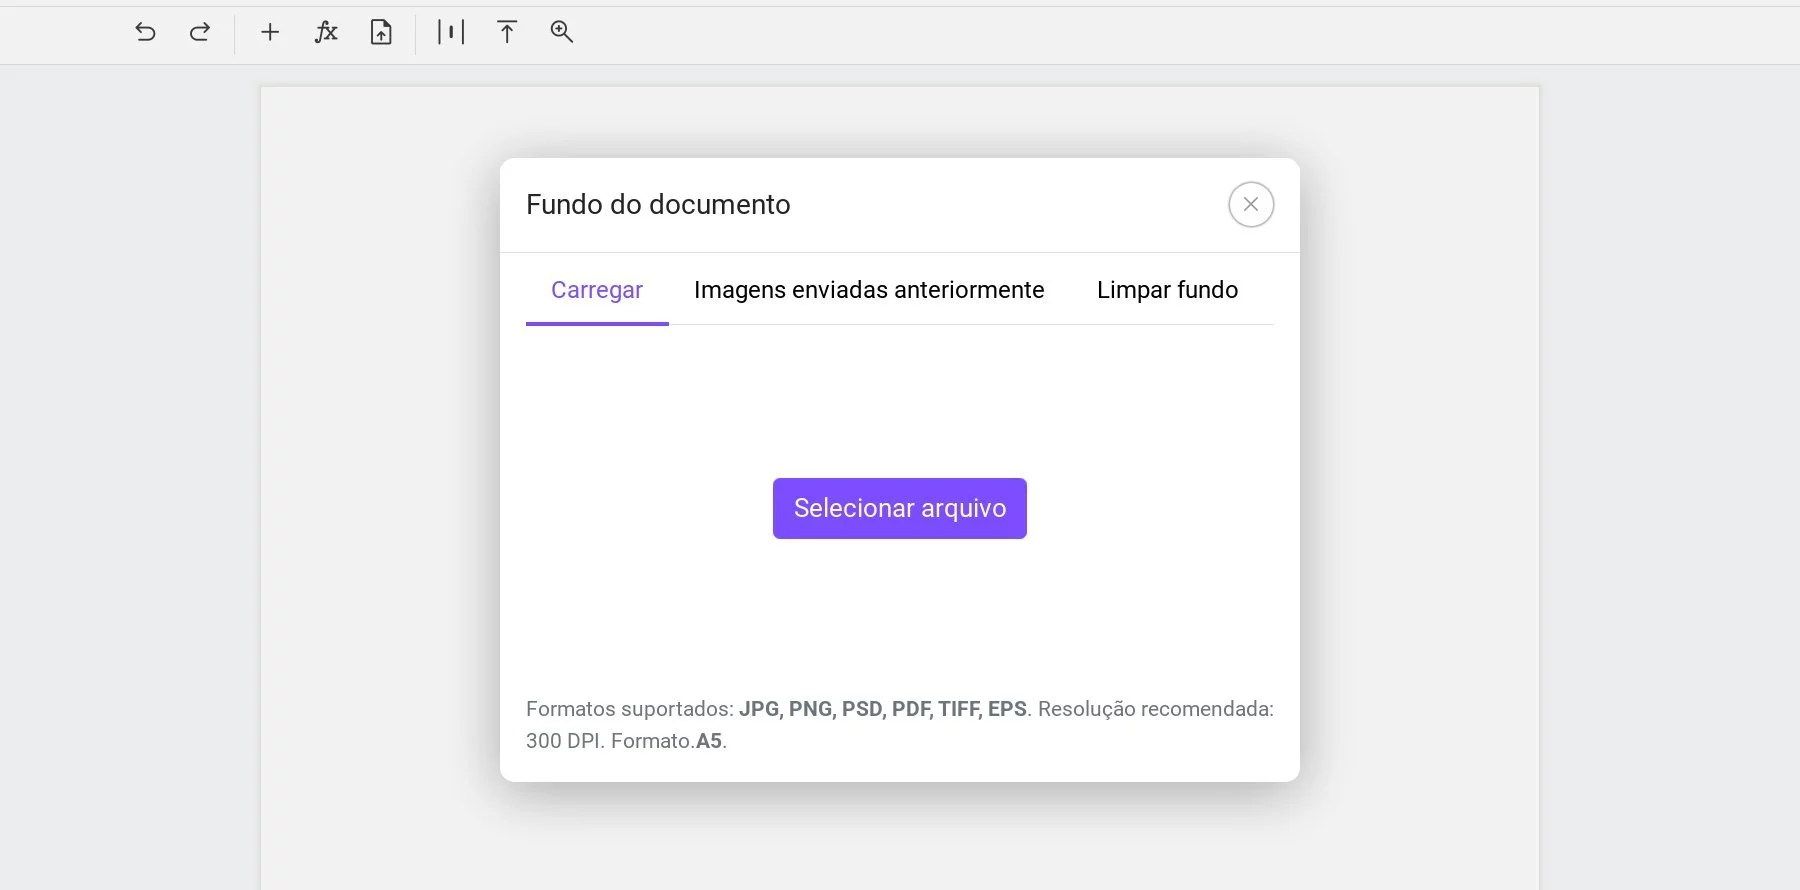 Janela de upload do diploma ou certificado
Se o fundo já foi carregado em outro documento, basta selecioná-lo na aba "Carregados anteriormente". Caso seja necessário remover o fundo (por exemplo, para impressão em papel timbrado), há a aba "Remover fundo".
Se o tamanho ou a orientação do arquivo for diferente das configurações do documento, você poderá ajustar o tamanho do documento ou redimensionar o fundo para cobrir toda a área.
3. Adicionando variáveis
As variáveis são marcadores especiais no documento que serão substituídos pelos dados da tabela durante a geração dos arquivos. Você pode adicionar quantas variáveis forem necessárias. Elas devem começar com o símbolo de porcentagem (%), seguido de um nome sem espaços (podem conter números e sublinhados), como %nome, %data ou %numero_documento. Também é possível usar chaves {}, como {data do evento}, permitindo nomes com espaços e caracteres especiais. No entanto, no momento da substituição, a variável será padronizada automaticamente (com % e sem espaços). O nome da variável pode ter até 100 caracteres.
As variáveis podem ser inseridas nos blocos de texto. Basta adicionar um bloco de texto, dar um duplo clique para entrar no modo de edição e digitar a variável desejada, como %nome. Um único bloco pode conter várias variáveis.
 Exemplo de certificado com bloco de texto e variável
Cada bloco e linha de texto pode ter sua fonte, estilo, tamanho, espaçamento e outras configurações ajustadas. Se necessário, é possível carregar fontes personalizadas caso a desejada não esteja na lista.
Após a edição do bloco, é importante alinhá-lo e ajustar seu tamanho, considerando os dados que serão inseridos na variável. Também é possível aumentar a altura do bloco e centralizar verticalmente o texto para que ele fique perfeitamente alinhado independentemente do seu tamanho.
 Exemplo de certificado com bloco de texto e variável
Se necessário, podem ser adicionados outros blocos de texto, imagens, códigos QR, entre outros. Há guias específicas para cada tipo de bloco na documentação. No final, o documento pode ter a seguinte aparência:
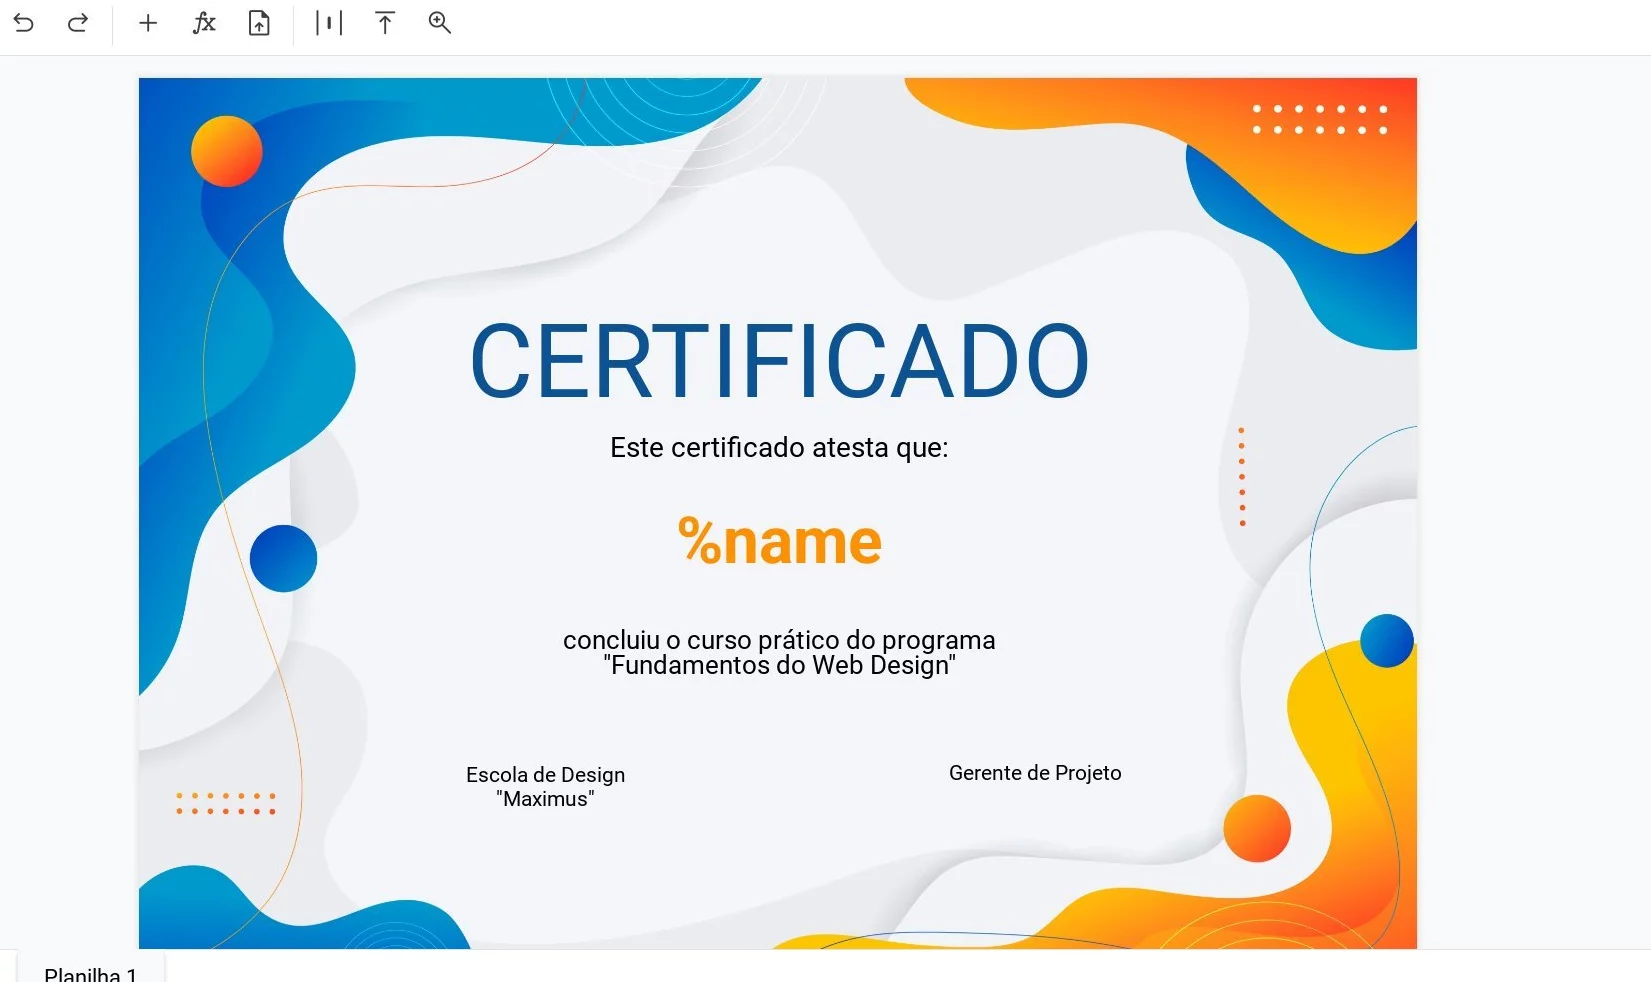 Certificado com variável %name para geração automatizada
Para gerar arquivos automaticamente, o documento precisa ter pelo menos uma variável. O número e os nomes das variáveis são flexíveis e sem limite.
4. Preenchimento da tabela
Com o documento pronto, agora é possível alternar para a tabela. O botão para alternar está no canto superior direito, acima do menu principal.
A tabela criará automaticamente colunas correspondentes às variáveis do documento. Agora é necessário preencher a tabela, o que pode ser feito manualmente, colando dados do Excel ou Google Sheets, ou carregando um arquivo Excel (xlsx).
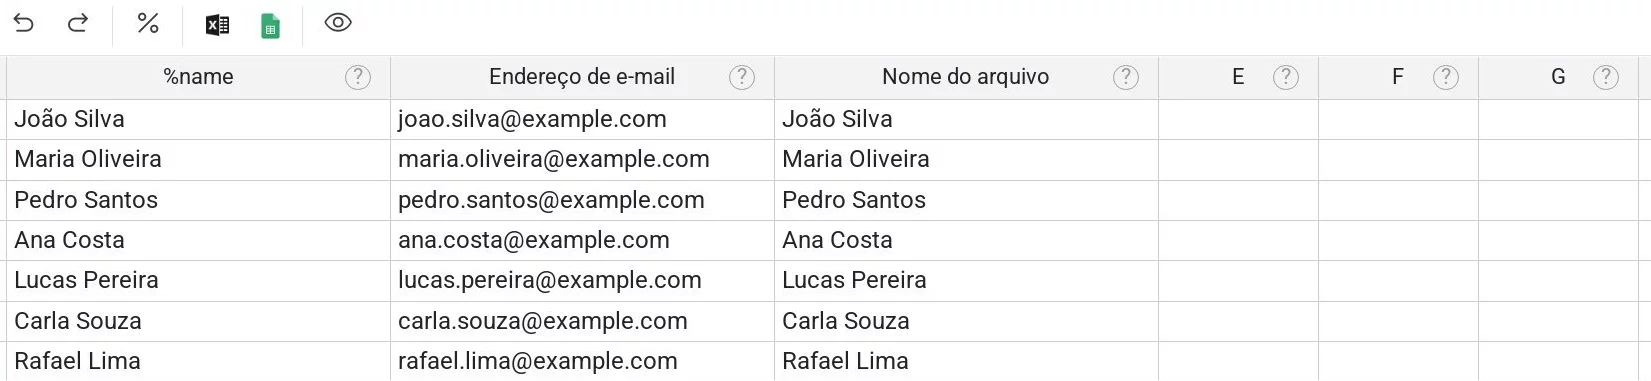 Tabela com dados para certificados
Se a ordem das colunas na tabela original for diferente da ordem do documento, é possível reatribuir variáveis a cada coluna, garantindo flexibilidade. Algumas variáveis são reservadas, como "E-mail" (%email), "Nome do arquivo" (%filename) e "Telefone" (%phone). Para enviar certificados por e-mail, basta preencher a coluna "E-mail". Para personalizar os nomes dos arquivos gerados, use a variável "Nome do arquivo".
Depois de preencher os dados, é possível visualizar uma prévia. Selecione uma linha e clique em "Pré-visualizar" na barra de ferramentas. Isso gerará um arquivo em baixa resolução para revisar se os blocos e os dados estão posicionados corretamente.
5. Geração dos arquivos
Quando tudo estiver pronto, selecione as linhas para gerar os arquivos (ou todas) e clique em "Criar arquivos". Na janela que aparecer, selecione a pasta onde os arquivos serão criados, se deseja enviá-los por e-mail e edite o assunto do e-mail.
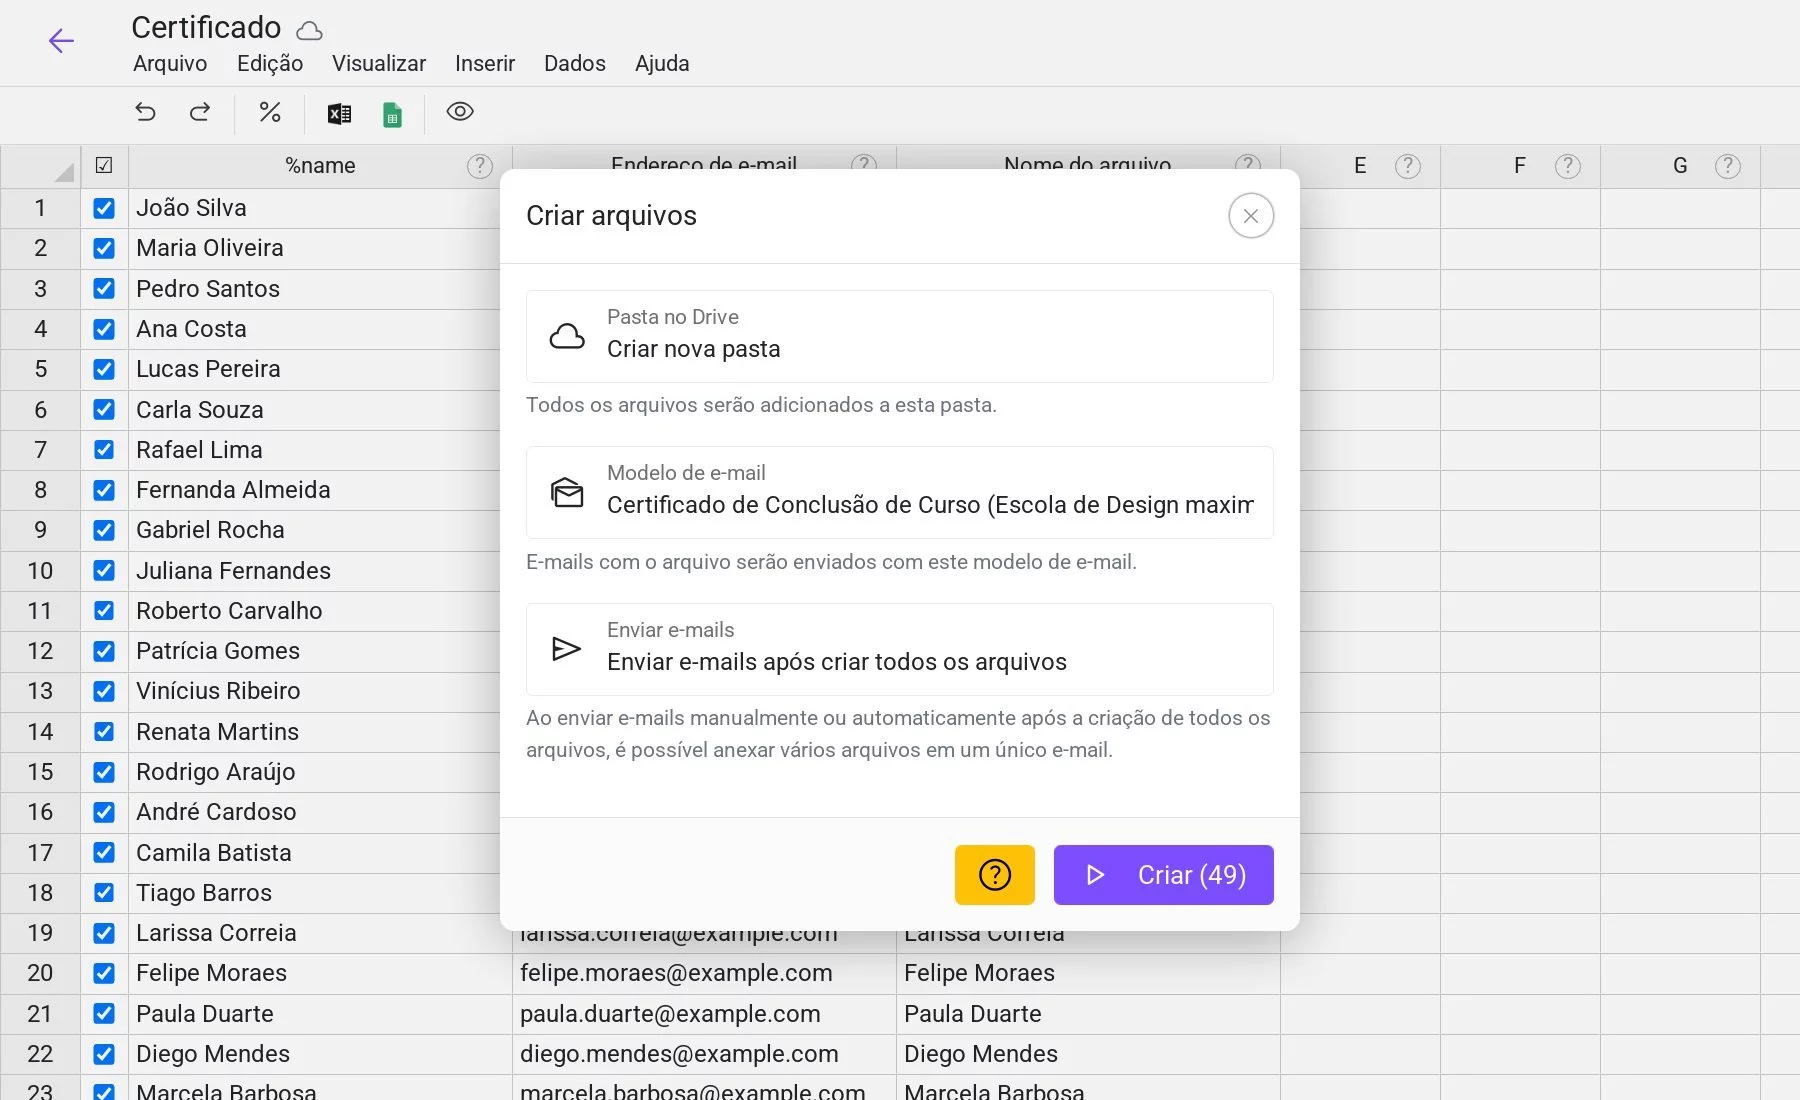 Janela de configuração da criação de arquivos
Clique em "Criar arquivos" (o número de arquivos será indicado entre parênteses) e aguarde o processo ser concluído.
Os arquivos são gerados a uma velocidade de 12.000 por hora (cerca de 200 por minuto). A criação acontece no servidor, então você pode fechar o navegador ou até desligar o computador enquanto o processo ocorre. Os arquivos prontos serão armazenados na pasta selecionada:
 Certificados gerados automaticamente
6. Envio dos arquivos
Assim que a geração dos arquivos for concluída, o envio por e-mail será iniciado automaticamente, conforme as configurações definidas.