Getting Started
This step-by-step guide will walk you through the process of automatically generating diplomas, certificates, or any other files containing personal data. We will cover the initial steps of file creation and email distribution.
1. Creating a Document
A document in the service serves as the source for automatic file generation. You can upload a custom background, add text blocks, QR codes, or any other media, and most importantly, insert variables. These variables will later be replaced with data from a table.
To create a document, go to the "Documents" section, click the "Create" button, and select "Document." In the document creation window, you can name the document and choose a format.
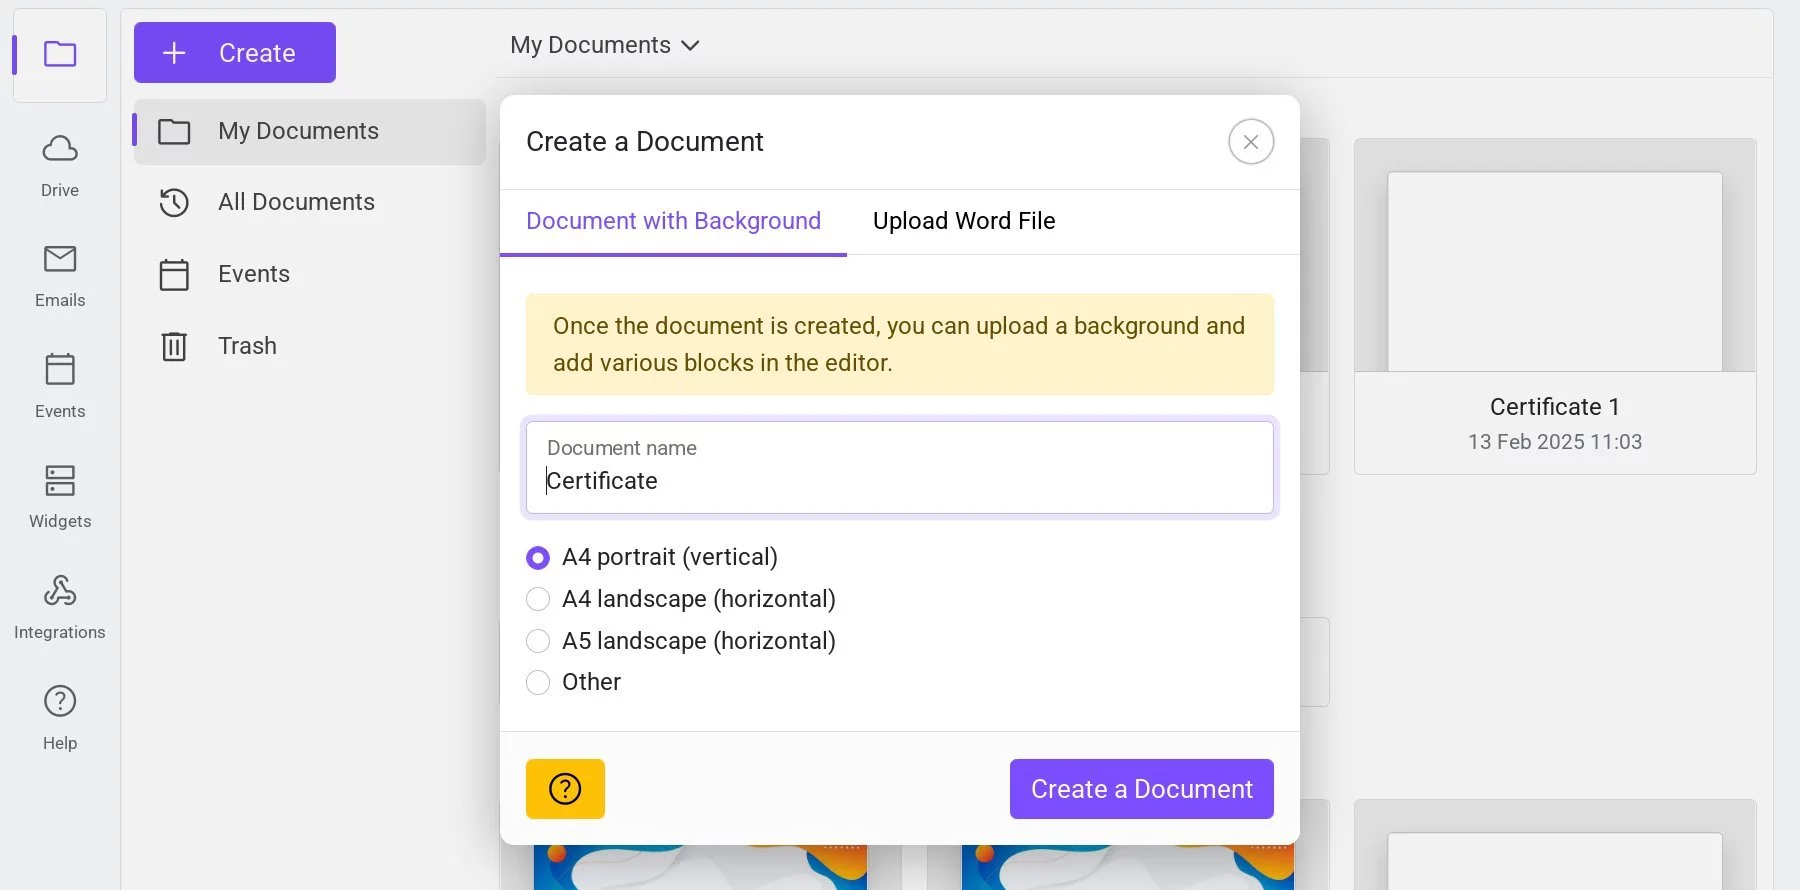 Document creation window
We are considering a scenario where diplomas or certificates are available in JPG or PDF format. This can be just a background or a template with placeholder fields for personal data. The service also supports uploading Word files (docx), but in this case, the file must be prepared in Word in advance, as it will be read-only inside the service.
2. Uploading a Background
The newly created document will open immediately. Now, you need to upload a background. Supported formats include JPG, PNG, and PDF. The service operates at a print resolution of 300 DPI. To upload a background, click the "Upload Background" button in the toolbar.
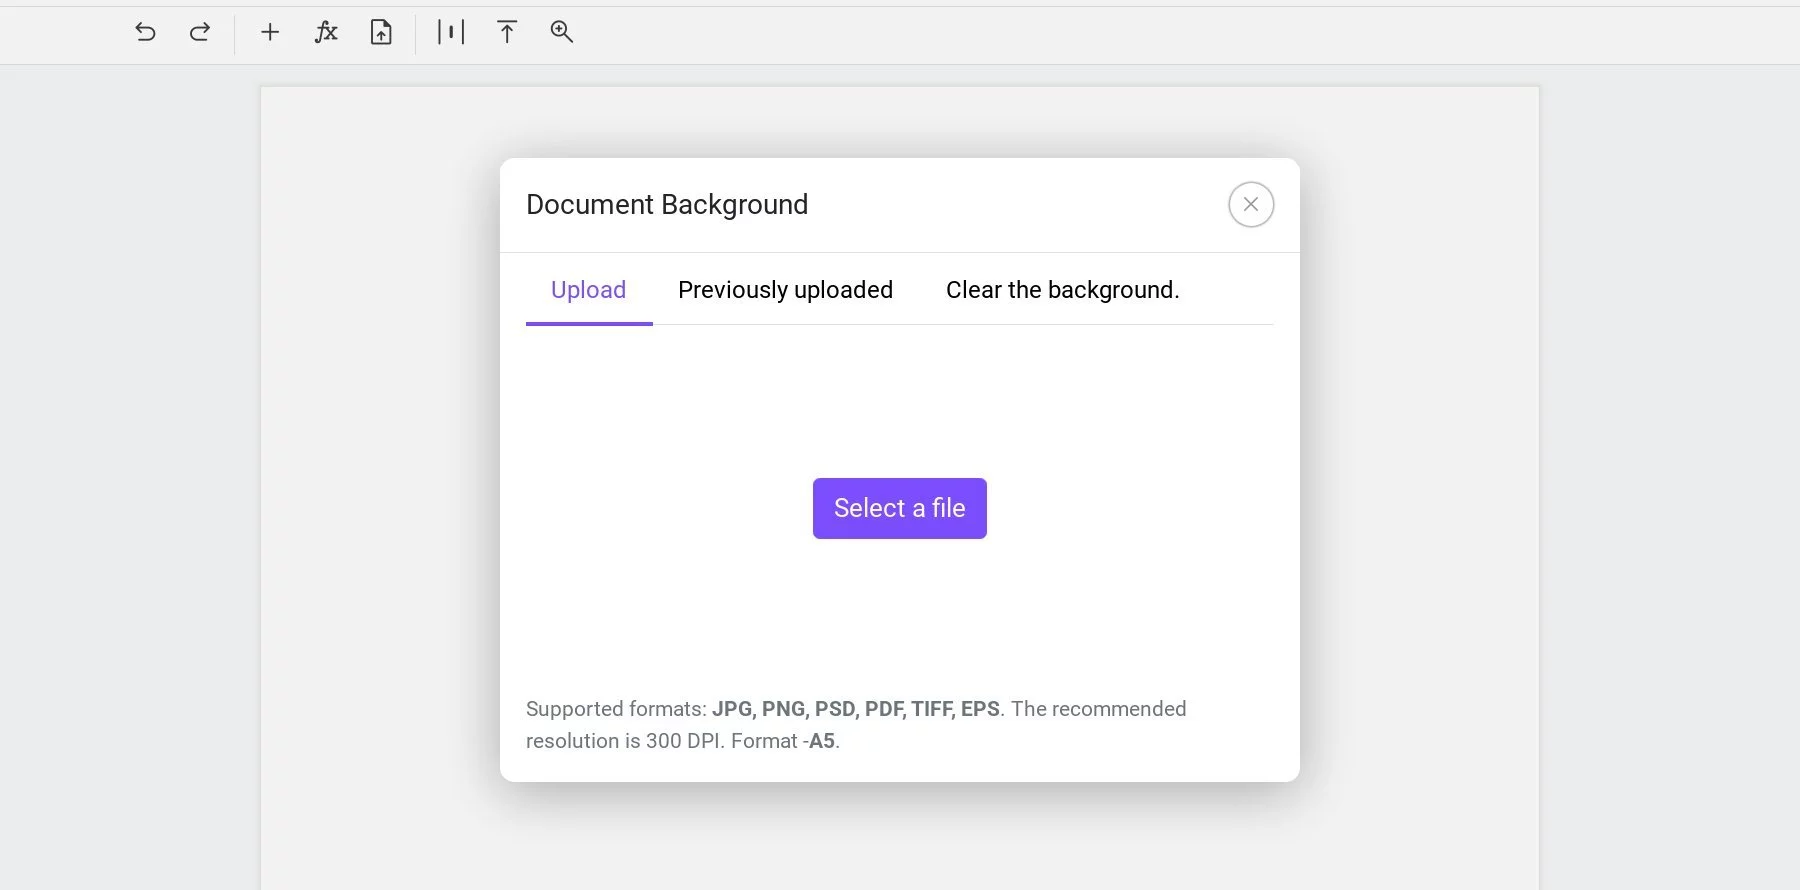 Background upload window for diplomas or certificates
If the background was previously uploaded in another document, you can select it from the "Previously Uploaded" tab. To remove a background (e.g., for printing files on pre-printed forms), open the "Remove Background" tab in the same window.
If the size or orientation of the file differs from the set document size, you will be prompted to either adjust the document size or stretch the background to fit.
3. Adding Variables
Variables are special placeholders in the application that will be replaced with data from the table when generating files. You can add any number of variables to a document. Each variable starts with a percentage sign, followed by a word without spaces (numbers and underscores are allowed), such as %name, %date, %document_number. Alternatively, you can use curly brackets, such as {event date}. In this case, spaces and special characters are allowed, and the variable will be automatically converted to the standard format (with % and no spaces) in the table. The maximum length of a variable is 100 characters.
Variables can be added inside text blocks. Simply add a text block, double-click it to enter edit mode, and type the necessary variable, such as %name. Multiple variables can be included in the same text block.
 Certificate fragment with a text block and variable
Each block and each line within a block can have different fonts, styles, sizes, spacing, and more. You can also upload a custom font if the needed font is not available in the default list.
After editing a text block, ensure it is aligned properly and sized appropriately to accommodate the variable data. You can also extend the block vertically and enable center alignment to ensure text remains centered regardless of its length.
 Certificate fragment with a text block and variable
You can add additional text blocks, images, QR codes, etc., as needed. There are separate guides for each block type in the documentation. Ultimately, a document might look like this:
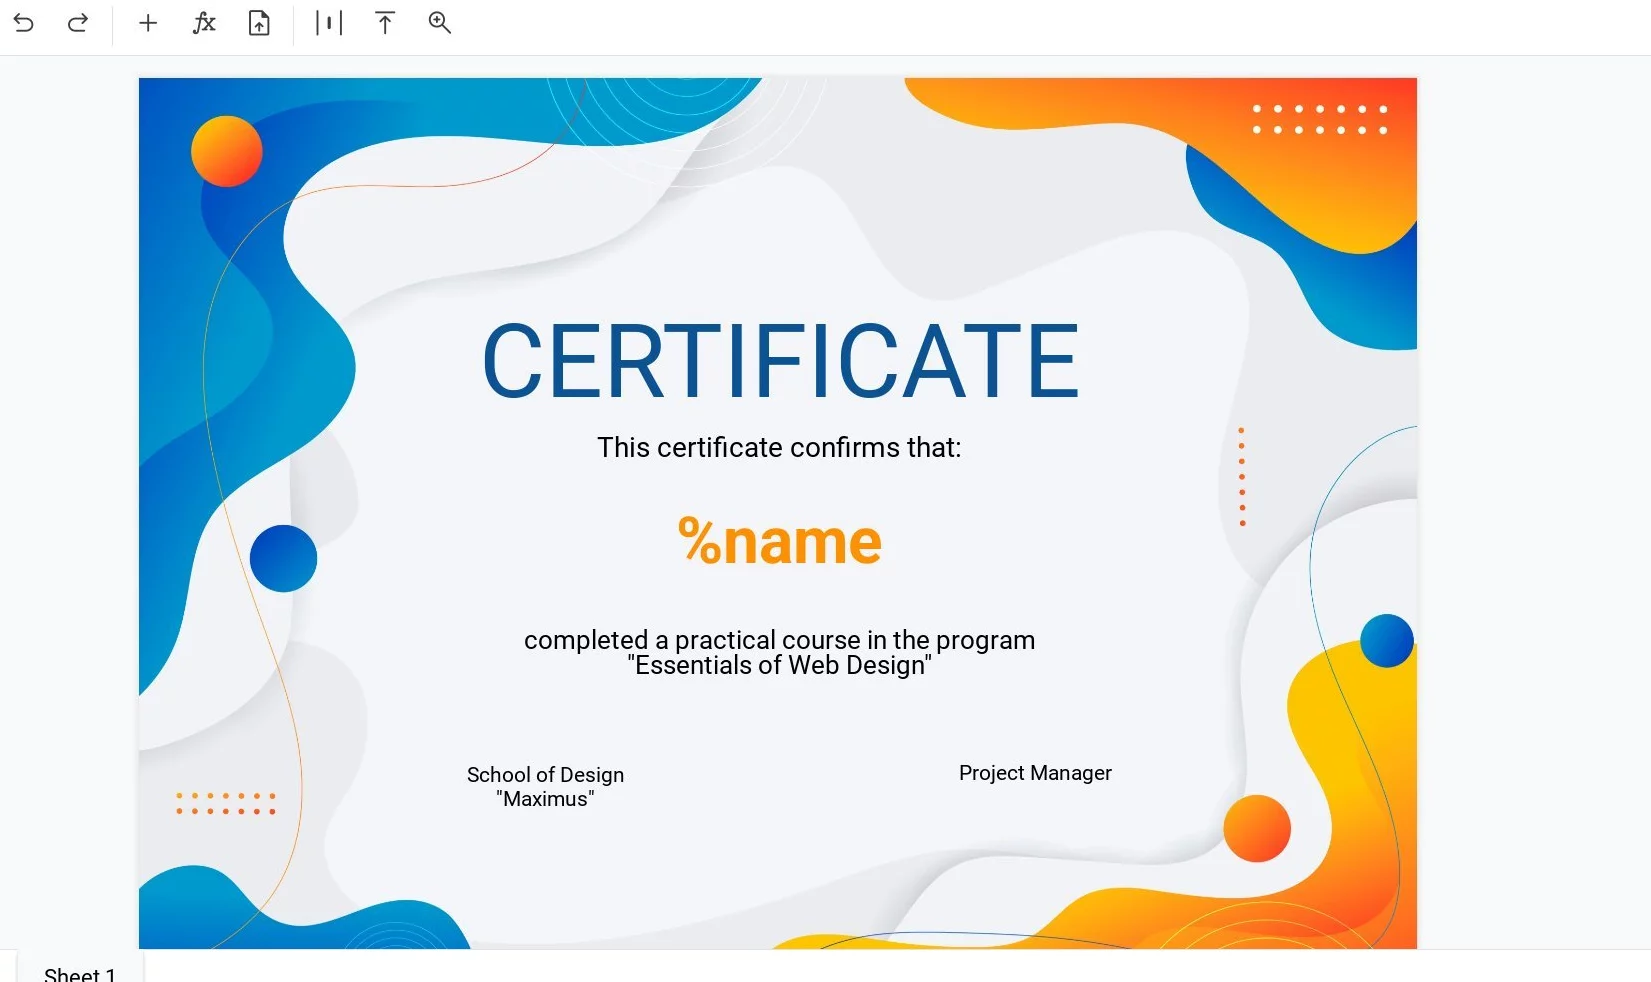 Certificate with the %name variable for file generation
At least one variable is required to automatically generate diplomas and certificates from a list. The number and names of variables are unlimited.
4. Filling in the Table
Once the document is ready, switch to the table view using the toggle in the upper right corner, above the main menu.
The table will automatically include columns corresponding to each variable in the document. Fill in the table manually or use copy-paste from Excel or Google Sheets. You can also upload an Excel (xlsx) file or fetch data from a Google Sheets link.
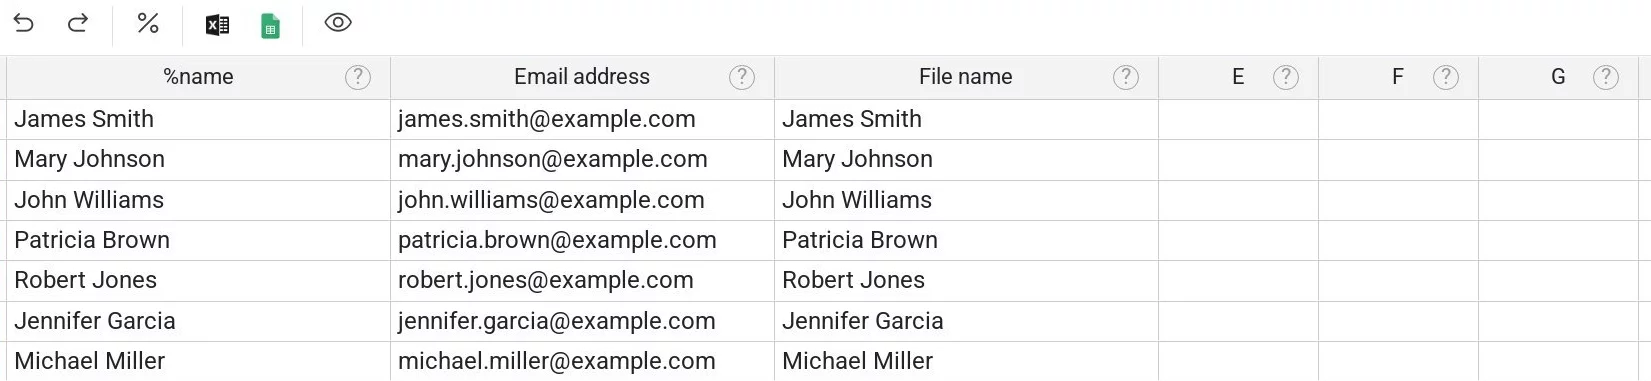 Table with data for certificate generation
If the original table’s order differs from the application's columns, you can reassign variables to any column. Additionally, some reserved variables include "Email Address" (%email), "File Name" (%filename), and "Phone Number" (%phone), among others. To send a diploma or certificate via email, enter the recipient's email address in the corresponding column. To customize filenames (e.g., using a person's name), fill in the "File Name" column.
After entering the data, preview a few rows by selecting a row and clicking “Preview” in the toolbar. A low-quality preview file will be generated, allowing you to check if elements are correctly positioned and data is substituted properly.
5. Generating Files
Once everything is set up, select the rows for file creation (or select all), then click "Generate Files." In the pop-up window, you can choose a folder for the generated files, configure email delivery settings, and set the email subject.
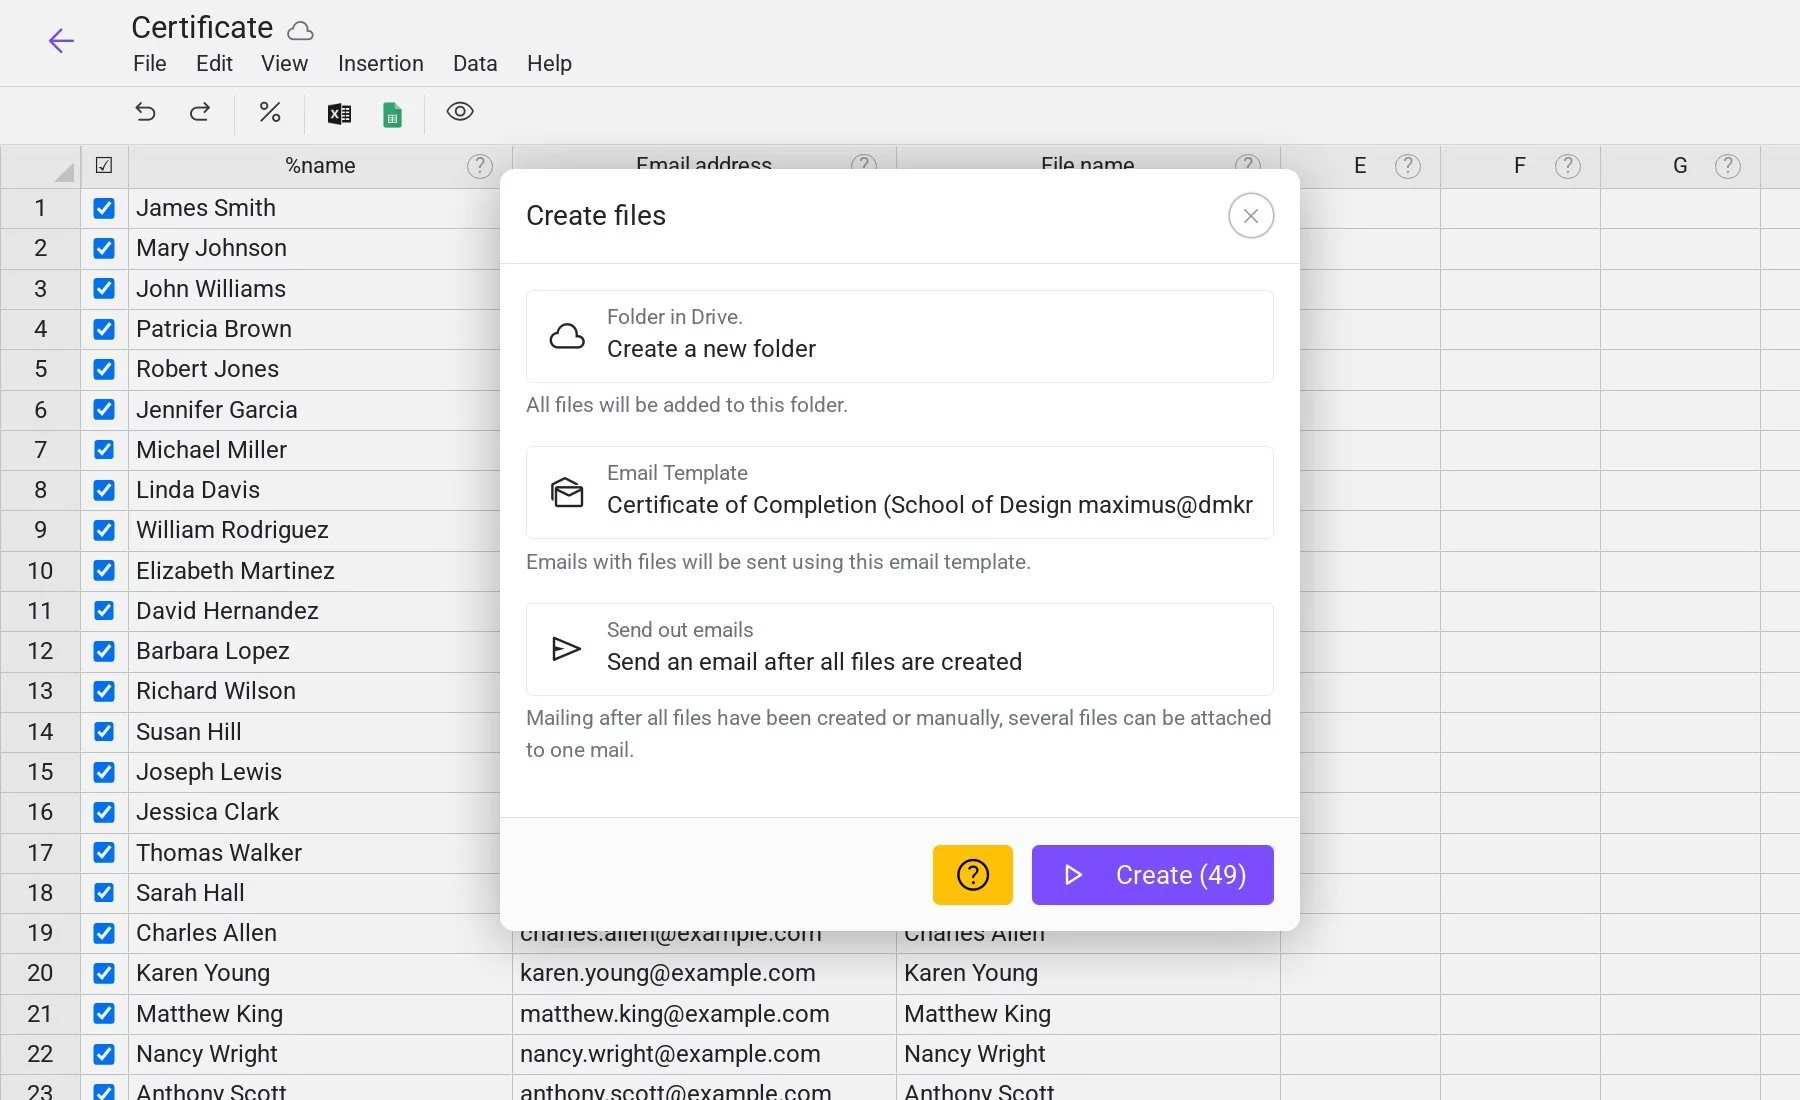 File generation settings window
Click "Generate Files" (the number of files will be indicated in parentheses) and relax.
Files are created on the server at a rate of 12,000 files per hour—about 200 per minute. The process runs on the server, so you can close your browser or even turn off your computer while files are being generated.
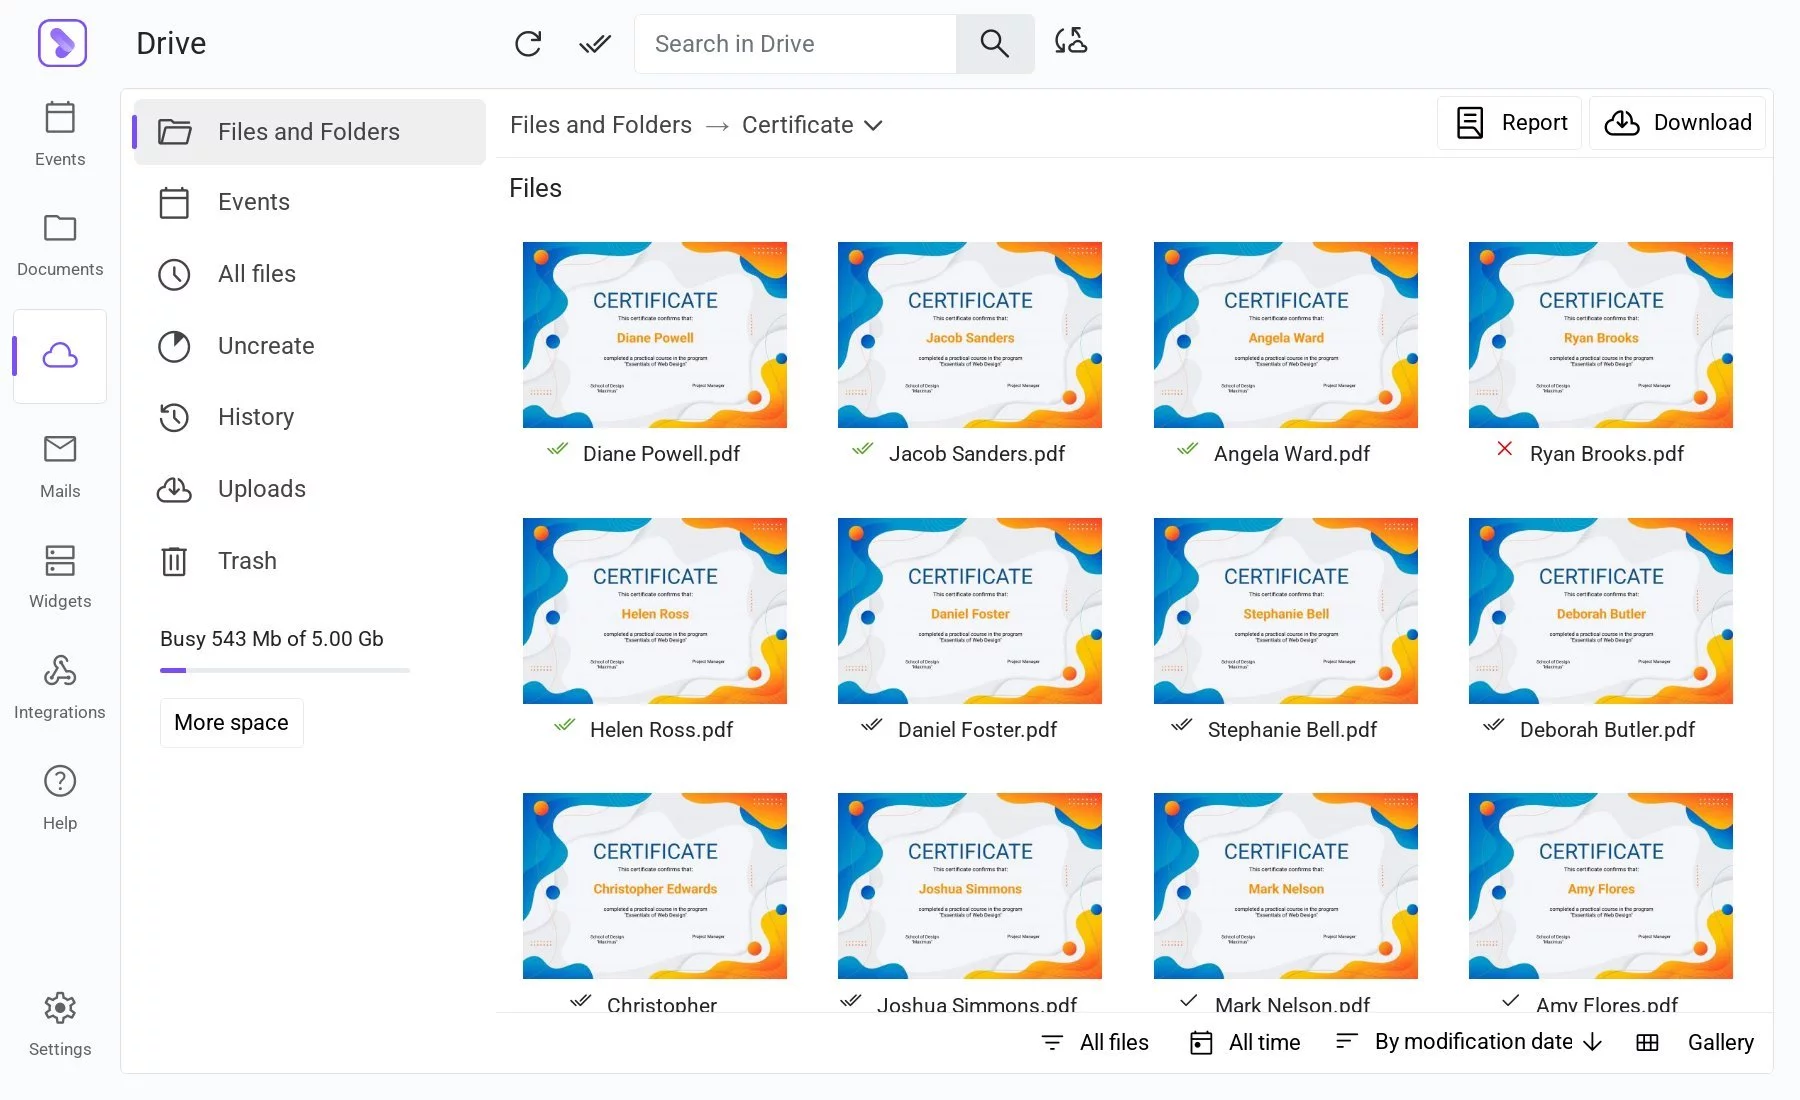 Generated certificates based on document and table
6. Emailing Files
Once file generation is complete, emails with the generated files will be sent automatically or manually, depending on the selected setting. If sending is configured after all files are created, multiple files can be attached to a single email.
The "Emails" section displays all sent emails with filters for delivery status (sent, delivered, read) and date range selection.
7. Downloading Files
Files can be downloaded anytime from the "Files" section. Select a folder, click "Download" on the toolbar, and choose a format (ZIP or PDF).
8. Summary
With just a few steps, you can automate the generation and distribution of diplomas and certificates. This guide covers the basics, but DiMaker also includes advanced features like integrations and widgets.