Integration mit Google Sheets
Richten Sie die automatische Erstellung von Dateien ein, wenn Änderungen in Google Sheets vorgenommen werden. Die Daten werden an DiMaker gesendet, um Dateien zu generieren. Falls gewünscht, können der Versandstatus und der Link zur fertigen Datei in die Google-Tabelle zurückgeschrieben werden.
Google Sheets
Erstellen Sie eine Tabelle mit persönlichen Daten. Sie können Google Formulare oder andere externe Dienste nutzen, um Daten in die Tabelle einzufügen. Dateien werden unmittelbar nach Änderungen in der Tabelle erstellt. Testweise können Sie ein paar Zeilen hinzufügen. In der ersten Zeile können Überschriften stehen, oder die Tabelle kann ohne Überschriften gestaltet werden.
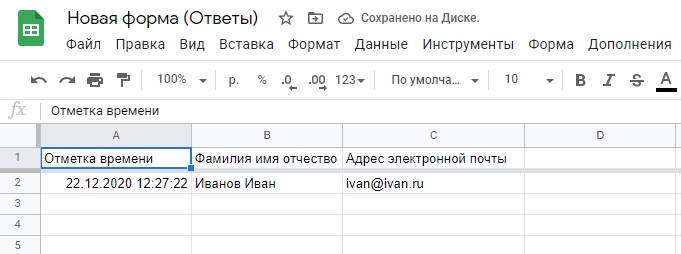 Google Sheets mit Daten für den automatischen Import in DiMaker
Das obige Beispiel zeigt eine Google Sheets-Tabelle, in die Daten aus Google Formulare importiert wurden. Die Anzahl der Zeilen und Spalten kann beliebig sein.
Dokument in DiMaker
Erstellen Sie ein Dokument in DiMaker. In den Bereichen, in denen persönliche Daten aus der Tabelle eingefügt werden sollen, verwenden Sie Variablen, z. B. %name.
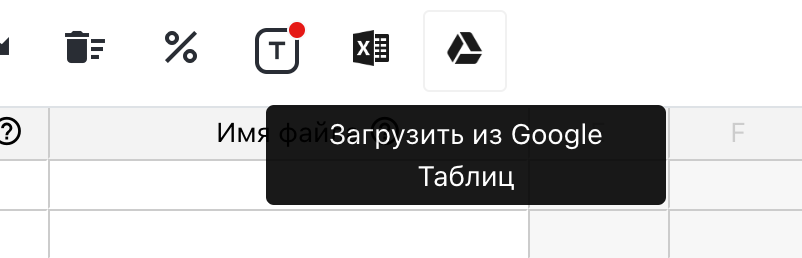
Sobald alles eingerichtet ist, wechseln Sie zurück zur Tabelle, klicken auf "Aus Google Sheets laden" und wählen im erscheinenden Fenster den Tab "Automatischer Import".
 Offenes Dokument mit der Variable %name und dem Menü "Datei" - "Automatischer Import"
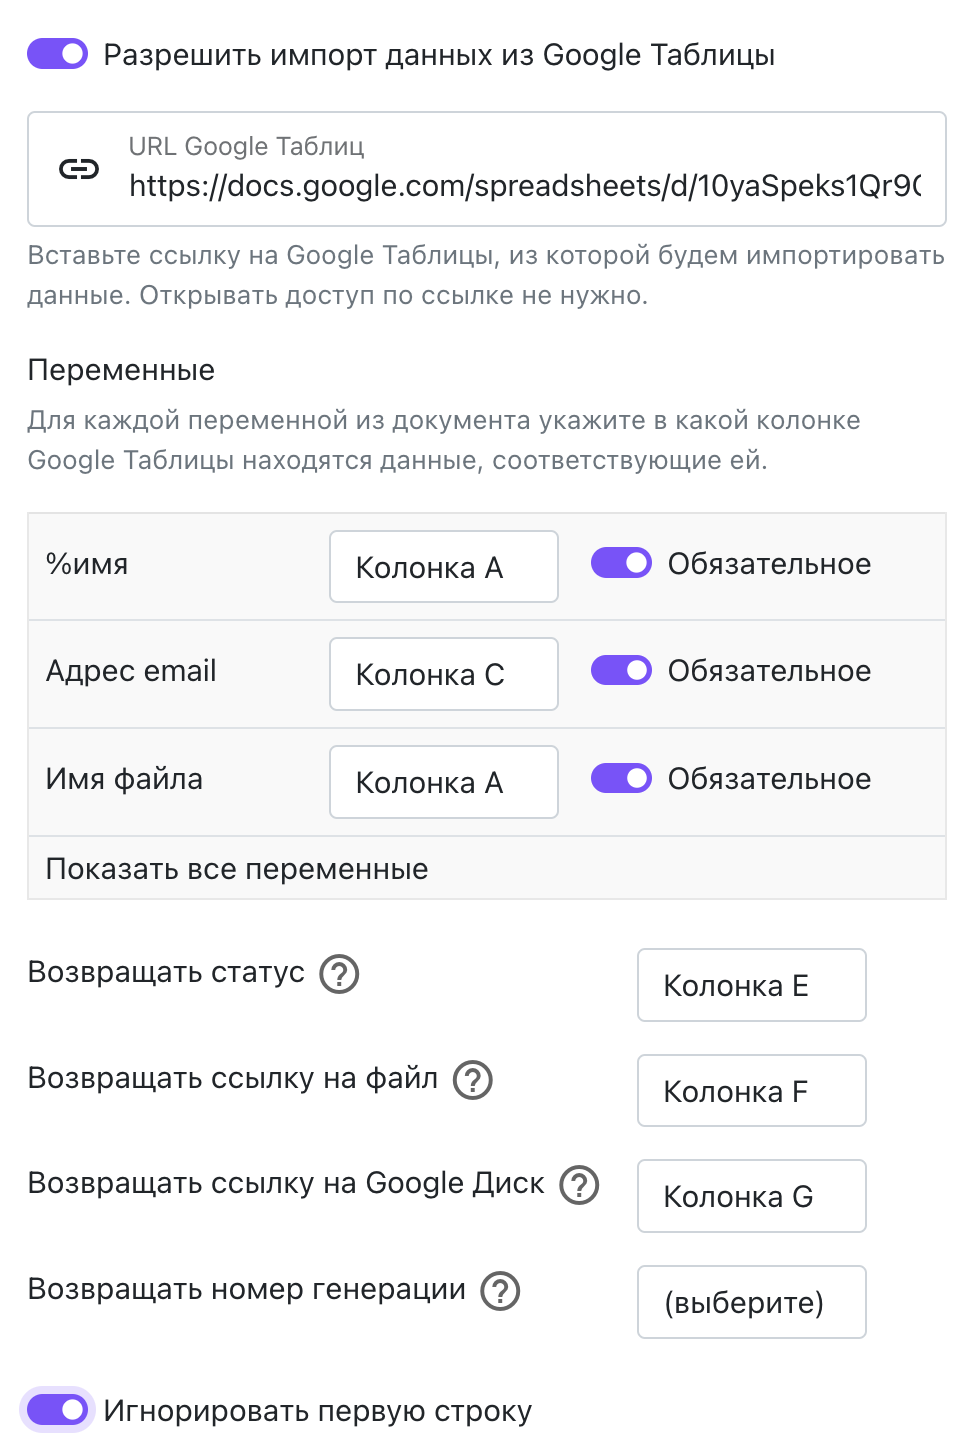
Im daraufhin erscheinenden Modal müssen die Einstellungen für den Datenimport sorgfältig vorgenommen werden.
 Jedes Fenster für die Einrichtung des automatischen Imports aus Google Sheets
- URL Google Sheets: Kopieren Sie den Link zur Google Sheets-Tabelle aus dem Browserfenster. Es ist nicht erforderlich, die Freigabeoption "Zugriff über Link" zu aktivieren.
- Variablen (Spalten): Wählen Sie die Spalte in Google Sheets aus, die die Variablen aus dem Dokument enthält. Wenn die Option „Pflicht“ aktiviert ist, wird die Erstellung der Datei erst gestartet, wenn der entsprechende Wert in dieser Zelle vorhanden ist.
- Status zurückschreiben: Der Versandstatus wird in der angegebenen Spalte angezeigt. Diese Spalte muss leer und frei von bestehenden Daten sein. Mögliche Statuswerte sind: "Erstellt", "Gesendet", "Zustellung", "Fehler".
- Link zur Datei zurückschreiben: Fügt in einer definierten Spalte die URL fertigpunkt Dateiablage hinzu. Auch darin Spalteninhalt getestet bleiben muss.